How to change the theme fonts
If your theme doesn’t come with a font edit feature, this post is just for you! It’s super easy and effective!
1 ) Go to “Plugins” page, search “Easy Google Fonts”. Install and activate it.

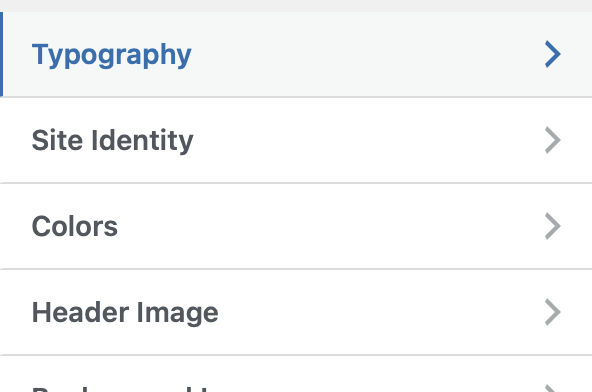
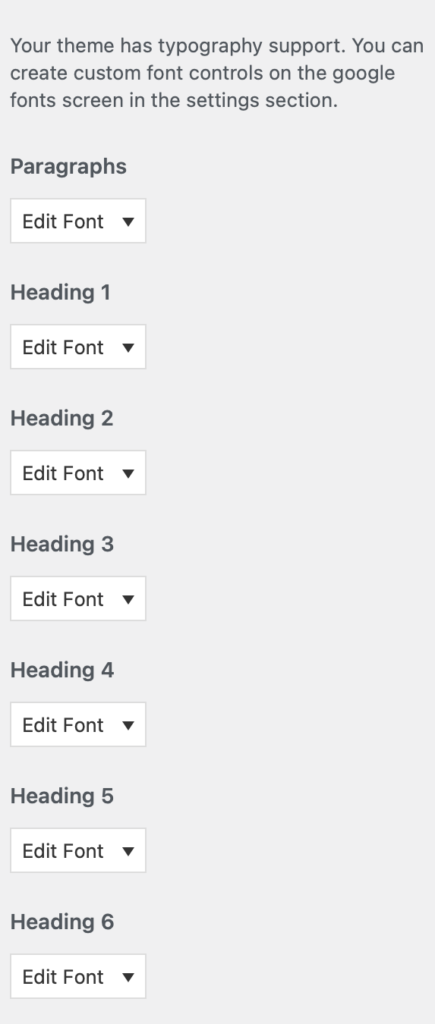
2 ) Go to Appearance > Customise > Typography, you’ll see a new “Typography” tab. The option is very limited though. By default, only paragraph and those heading fonts can be changed.


3 ) No worries if these are not what you’re looking for, go to the “Google Fonts” page which is under “Settings” on your dashboard.
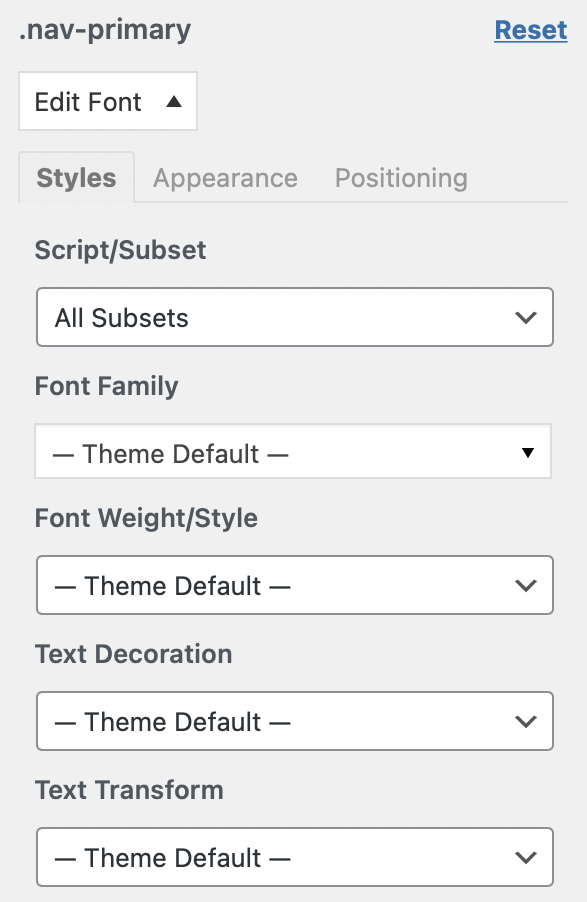
4 ) Find out the class name of the fonts that you’d like to change and enter it as the control name in this page. Make sure the class name is start with a dot, otherwise it will not be functioning.
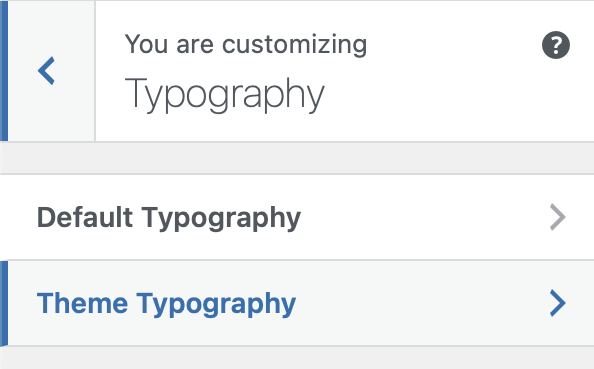
5 ) After that, go back to Appearance > Customise > Typography > Now there’s a new tab named “Theme typography”. This is where it keeps those newly added control names. You could add as many control name as your want which basically means you’re able to change the entire theme font with this useful plugin.


If you do not have basic coding concept, it might be slightly difficult for you to find out the class names. You could probably contact your theme designer see if they would offer any help. If not, we got you covered! We created a list of some common class names that almost every WordPress theme has.
- .nav-primary a
- .nav-secondary a
- .entry-title a
- .entry-title
- .entry-categories a
- .entry-comments a
- .entry-time
- a.more-link
- .widget-title
- .sidebar .widget-title
- a
- input[type=”submit”]
- .comment-reply-title
- .comment-respond label
- .title-area .site-title a
- .archive-pagination li a
- .site-footer
- .archive-title
 MAILCHIMP WITH GENESIS ENEWS EXTENDED (2020 updated)
 CREATE GALLERY WITHOUT PLUGIN
 PLUGINS THAT YOU SHOULD INSTALL
 ADD AND CHANGE FONTS WITHOUT PLUGIN (UPDATED)